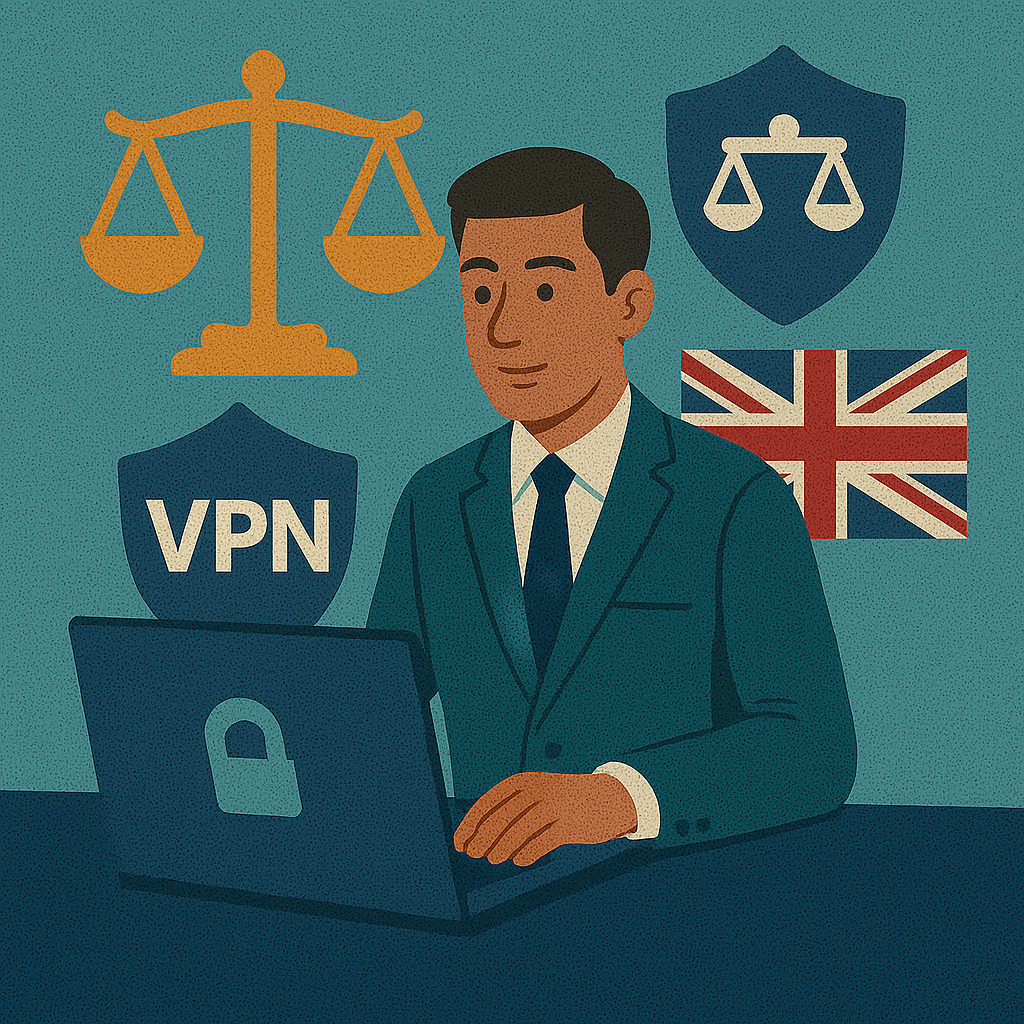
DNS Leak with a VPN: Detection & Fixes (2026)
Quick answer: A DNS leak means your DNS lookups (the domains you visit) escape the VPN tunnel. In this guide you’ll test DNS/IPv6/WebRTC in minutes and apply fixes on Windows, macOS, Android, iOS and routers — with realistic privacy limits.
If you want a clean baseline first, read What is a VPN?. If you just want “find & fix”, jump to Leak tests.

DNS Leak Emergency Fixer (2026)
If your leak test shows your real DNS, treat it like an emergency: your ISP can log domains even when your web traffic is encrypted. Use the quick fix below, then work through the full dashboard to lock down Windows, browsers and routers.
Quick Fix: DNS Leak 2026 (UK)
If your real DNS is visible (common on UK networks like BT, Virgin Media or Sky), do this immediately:
- Enable “Force VPN DNS” (or “Use VPN DNS only”) inside your VPN app.
- Disable IPv6 (the #1 bypass in many Windows/ISP stacks).
- Set a trusted DNS (e.g., 1.1.1.1) at OS level if your VPN client can’t lock DNS.
- Block WebRTC in your browser (uBlock Origin / browser setting) to stop browser-side leaks. See VPN on Microsoft Edge for quick WebRTC/privacy toggles.
Leak levels: what your ISP can see
| Leak type | What BT/Virgin/Sky can see | Risk | Fastest fix (2026) |
|---|---|---|---|
| Standard DNS leak | Domains you query (visited sites) and timestamps. | 🔴 High | Enable Force VPN DNS / use provider DNS inside the tunnel. |
| IPv6 leak | Your real IPv6 traffic can bypass the VPN tunnel. | 🔴 Critical | Disable IPv6 (or ensure VPN fully supports IPv6 + firewall rules). |
| WebRTC leak | Local / private IP hints (browser-side). | 🟡 Medium | Disable WebRTC or use uBlock Origin / browser setting. |
| Teredo / transition tunnels | Hidden Windows tunnels may route name resolution outside VPN. | 🟡 Medium | Disable Teredo + “Smart Multi‑Homed Name Resolution”. |
Why leaks happen: request path in 2 diagrams
How to test (2‑minute routine)
Use this repeatable routine before and after each fix so you know what actually changed. If you’re on Windows, follow our Windows VPN setup guide, then check kill switch settings and protocol options. For tricky networks, compare your results on public Wi‑Fi.
- Connect to your VPN and enable any “Force VPN DNS / Use VPN DNS only” option.
- Run a DNS leak test twice and note which DNS provider/ASN is shown.
- Repeat in a Private/Incognito window (rules out extensions and cached DoH).
- If results differ, disable extensions (uBlock, proxy, DNS/DoH tools) and test again.
- Temporarily disable IPv6 and retest — IPv6 bypass is still a top leak cause on many ISP stacks.
The DNS Leak Emergency Fixer Dashboard
How it works: tick each fix you’ve applied. Your progress score updates instantly, and the panel suggests what to do next.
Need a clean baseline? Start with our optimal VPN settings checklist and, if you’re running VPN on a home network, see VPN on a router (DNS leaks often come from router DNS or IPv6 settings).
UK-specific gotchas (BT, Virgin Media, Sky)
In the UK, DNS leaks are often caused by IPv6 and Windows “helpful” features that send queries to multiple adapters. Virgin Media and BT networks commonly use IPv6 stacks that can bypass a misconfigured tunnel.
- Virgin Media hub + IPv6: test with IPv6 disabled once to confirm.
- BT/Sky DNS caching: after changes, reconnect Wi‑Fi and flush DNS cache to see real results.
- Router mode vs modem mode: double-NAT setups can create inconsistent DNS routes.
FAQ: DNS leaks (UK)
How do I know if I have a DNS leak?
If a DNS leak test shows your ISP resolver (BT/Virgin/Sky) while your VPN is connected, your DNS is escaping the tunnel. Run the test twice (after reconnecting) to confirm it’s consistent.
Is disabling IPv6 safe?
For troubleshooting, yes. If disabling IPv6 fixes the leak, your VPN likely isn’t handling IPv6 properly on your device/network. You can keep IPv6 off or switch to a VPN that supports IPv6 end-to-end.
What is “Force VPN DNS” and why does it matter?
It forces all DNS queries to go through the VPN’s resolver (or a resolver inside the tunnel). Without it, Windows or the router may use the ISP DNS even when your web traffic is encrypted.
Can browsers cause DNS/WebRTC leaks?
Yes. WebRTC can reveal local IP hints, and extensions can override proxy/DNS settings. Test with a clean browser profile and disable WebRTC if the leak appears browser-only.
What’s the fastest “emergency fix” on Windows 11?
Turn on your VPN’s kill switch and “Force VPN DNS”, disable IPv6, then flush DNS cache. After that, run the leak test again. The dashboard above walks you through the full checklist.
Short video: VPN privacy explained in plain English
Key takeaway: the main job of a VPN is to separate who you are (your IP, ISP) from what you do (sites you access). DNS leaks rebuild that bridge — so we test.
If the player doesn’t load, watch on YouTube: https://www.youtube.com/watch?v=rzcAKFaZvhE.
Related articles
About the author
Denys Shchur is the creator of VPN World, focusing on practical, test-driven guides about VPNs, online privacy and secure remote work. He spends far too much time checking for leaks so you don’t have to.
Recommended VPNs
Affiliate links (nofollow/sponsored).
Disclosure: VPN World may earn a commission if you subscribe via these links — without changing your price.